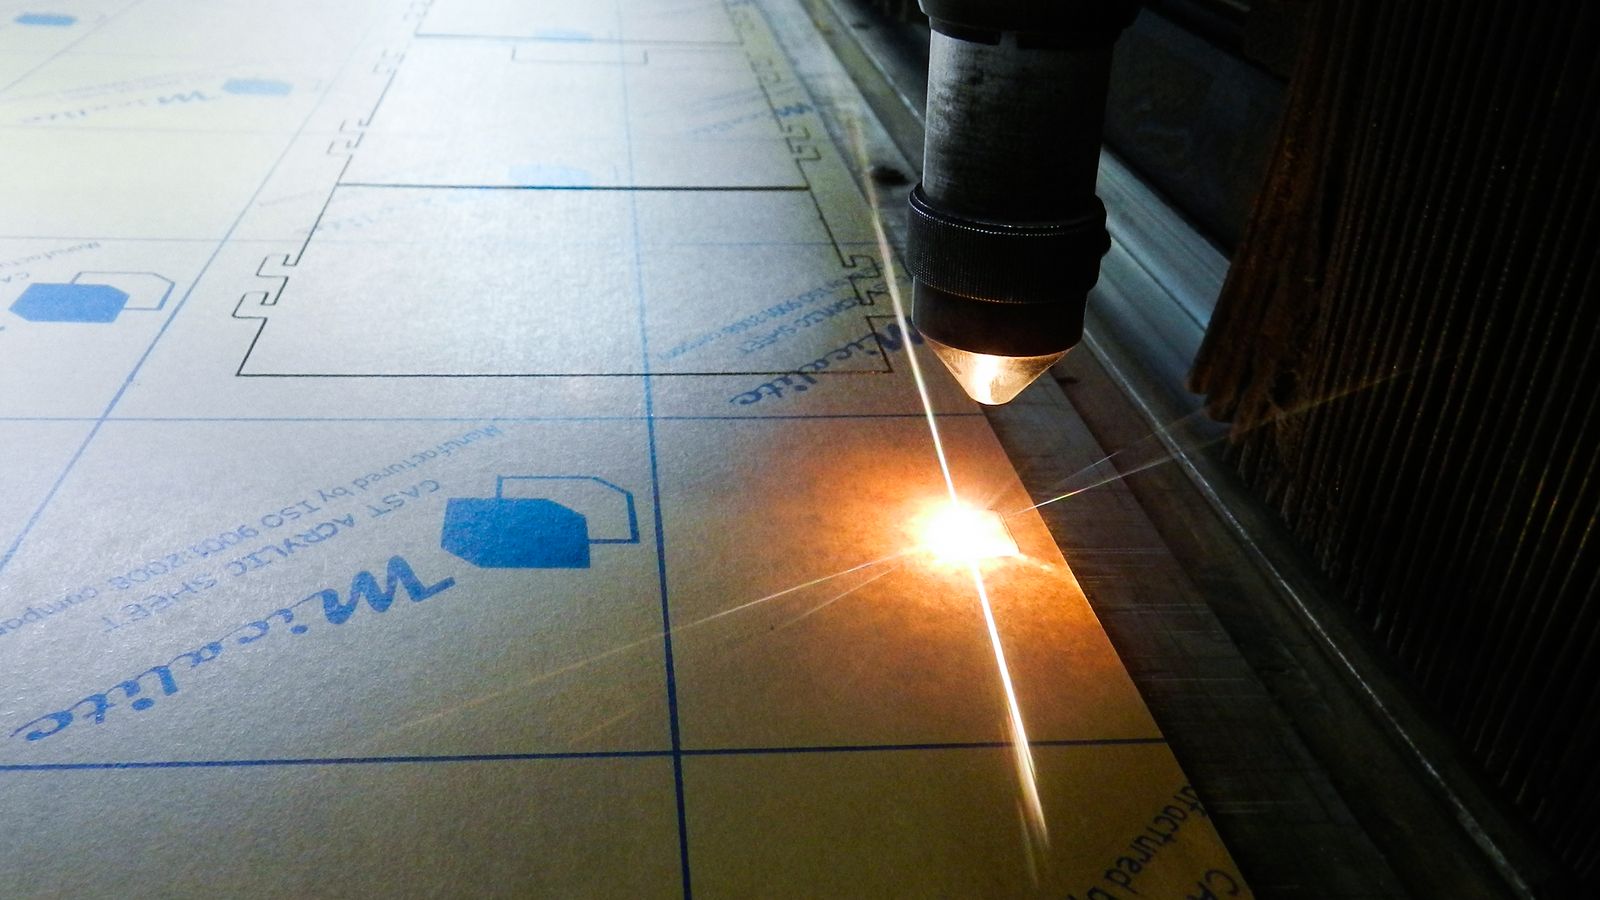
Do you have your own laser cutting machine and have been making your own jewellery pieces with pre-coloured acrylic sheets?
I know what it is like to stand out from the crowd when you and your fellow jewellery makers are buying from the same material suppliers.
Well.... with Plenty of Pattern, there is endless possibilities for your pieces and it is only limited by your creativity!
In this blog post, I'll share some tips on what to consider when laser cutting earring shapes from our UV printed materials.
Gather Your Materials and Equipment
- Laser Cutting Machine: Ensure your laser cutter is suitable for cutting wood and acrylic.
- UV Printed Wood or Acrylic Sheets: Purchase your printed sheets from our website!
- Design Software: Use vector-based design software like Adobe Illustrator, to create your earring shapes. I will assume if you have a laser cutter, you have an understanding of how to draw up your shapes.
- Masking Tape: Optional, but can help protect the surface of your material from smoke and scorch marks. You can purchase something like this. Masking Tape Roll
- Sandpaper and Finishing Supplies: For smoothing and finishing the edges of your earrings.
- Jewellery Findings: Earring hooks, jump rings, and other necessary findings to complete your earrings.
Create Your Design
- This is where I assume you know what you're doing!
Do what you do best and design your pieces as you would for your other pieces.
UV Ink on Wood and Acrylic
- UV ink is a highly durable ink that is printed using an alcohol based ink and then cured by ultraviolet light.
- The material is laid on a flat bed printer, the printer sprays the ink onto the surface while also shining UV light on the ink at the same time.
- The UV light cures the ink and makes it hard and dry instantly.
- Materials such as wood, leather and cork are porous, which means the ink absorbs slightly into the material and extends the life of the ink.
- Acrylic is a little different. As Acrylic is a plastic it isn't porous at all, we prime it before applying the ink to avoid it cracking or chipping.
Laser Cutting UV Printed Wood or Acrylic
- Every laser cutting machine is different, so I won't go into the detail of what settings your machine needs to be, but I assume you have worked that out at your end.
- Like I do with all my new materials, I do a series of testing to make sure I have found the best setting to use for that material.
- Masking: This is totally optional, but it can minimise the burning spray on the front or back side of the material, that you can get from the laser.
- Which side should face down? This is totally dependent on your laser cutter and the setting your use. Once you have done your test cuts, you will see which side shows the most burning. This could determine if you should face the print down or up, or apply a masking to avoid the burn marks.
Heat!
- Laser cutting can get pretty hot! If you place your shapes too close, the material can overheat and either effect the laser or the material itself.
- As UV ink is essentially a chemical, heat can affect the adhesion or even create a reaction. I would suggest spacing your shapes a little further apart than you would normally to avoid compromising the print.
That's it!
If you are like me (a little nerdy), you can search Mrs Google or YouTube for any tips that other makers have around the world. Sometimes you will find someone out their that is working on a similar project to you and has made the effort to share it online. Good on them I say!


